4.6 KiB
Using the Node Explorer to test a Corda node on Corda Testnet
This document will explain how to test the installation of a Corda node on Testnet.
Prerequisites
This guide assumes you have deployed a Corda node to the Corda Testnet.
Note
If you need to set up a node on Testnet first please follow the instructions: corda-testnet-intro.
Get the testing tools
To run the tests and make sure your node is connecting correctly to the network you will need to download and install a couple of resources.
Log into your Cloud VM via SSH.
Stop the Corda node(s) running on your cloud instance.
ps aux | grep corda.jar | awk '{ print $2 }' | xargs sudo killDownload the finance CorDapp
In the terminal on your cloud instance run:
wget https://ci-artifactory.corda.r3cev.com/artifactory/corda-releases/net/corda/corda-finance-contracts/|corda_version|/corda-finance-contracts-|corda_version|.jar
wget https://ci-artifactory.corda.r3cev.com/artifactory/corda-releases/net/corda/corda-finance-workflows/|corda_version|/corda-finance-workflows-|corda_version|.jar
This is required to run some flows to check your connections, and to issue/transfer cash to counterparties. Copy it to the Corda installation location:
sudo cp /home/<USER>/corda-finance-*-|corda_version|.jar /opt/corda/cordapps/Run the following to create a config file for the finance CorDapp:
echo "issuableCurrencies = [ USD ]" > /opt/corda/cordapps/config/corda-finance-|corda_version|.confRestart the Corda node:
cd /opt/corda
sudo ./run-corda.sh
Your node is now running the finance Cordapp.
Note
You can double-check that the CorDapp is loaded in the log file
/opt/corda/logs/node-<VM-NAME>.log. This file will list installed apps at startup. Search forLoaded CorDappsin the logs.Now download the Node Explorer to your LOCAL machine:
Note
Node Explorer is a JavaFX GUI which connects to the node over the RPC interface and allows you to send transactions.
Download the Node Explorer from here:
http://ci-artifactory.corda.r3cev.com/artifactory/corda-releases/net/corda/corda-tools-explorer/|corda_version|/corda-tools-explorer-|corda_version|.jarWarning
This Node Explorer is incompatible with the Corda Enterprise distribution and vice versa as they currently use different serialisation schemes (Kryo vs AMQP).
Run the Node Explorer tool on your LOCAL machine.
java -jar corda-tools-explorer-|corda_version|.jar
Connect to the node
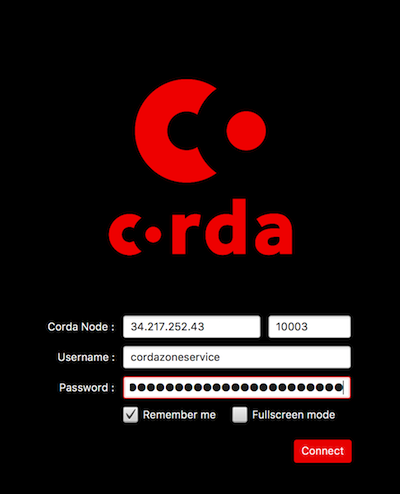
To connect to the node you will need:
- The IP address of your node (the public IP of your cloud instance). You can find this in the instance page of your cloud console.
- The port number of the RPC interface to the node, specified in
/opt/corda/node.confin therpcSettingssection, (by default this is 10003 on Testnet). - The username and password of the RPC interface of the node, also in the
node.confin therpcUserssection, (by default the username iscordazoneserviceon Testnet).
Click on Connect to log into the node.
Check your network identity and counterparties
Once Explorer has logged in to your node over RPC click on the Network tab in the side navigation of the Explorer UI:
If your Corda node is correctly configured and connected to the Testnet then you should be able to see the identities of your node, the Testnet notary and the network map listing all the counterparties currently on the network.
Test issuance transaction
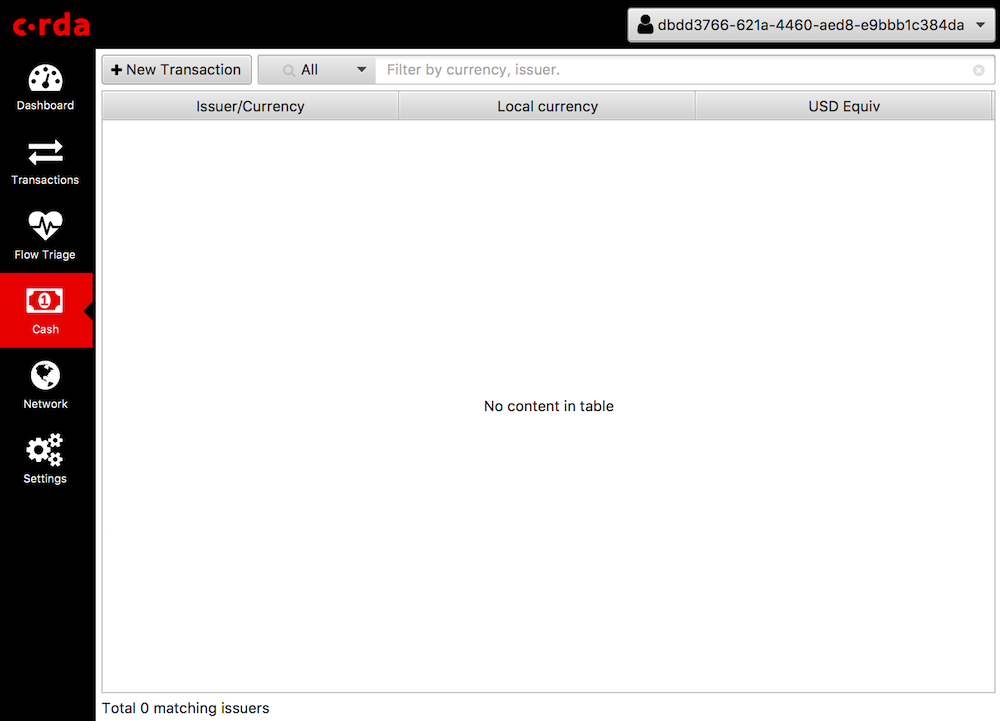
Now we are going to try and issue some cash to a 'bank'. Click on the Cash tab.
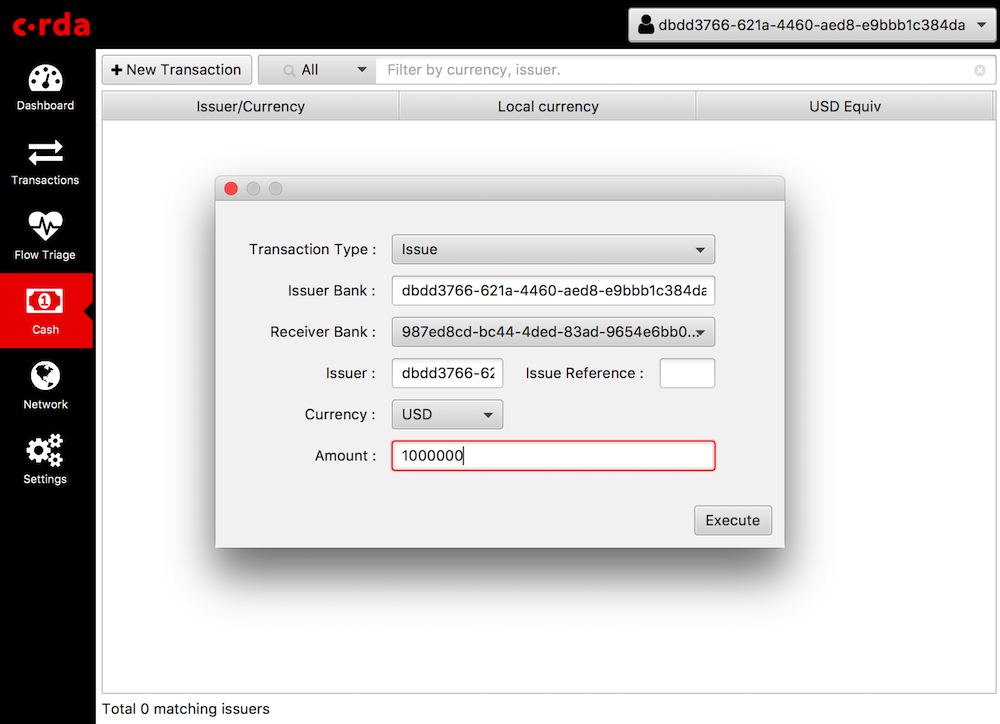
Now click on New Transaction and create an issuance to a known counterparty on the network by filling in the form:
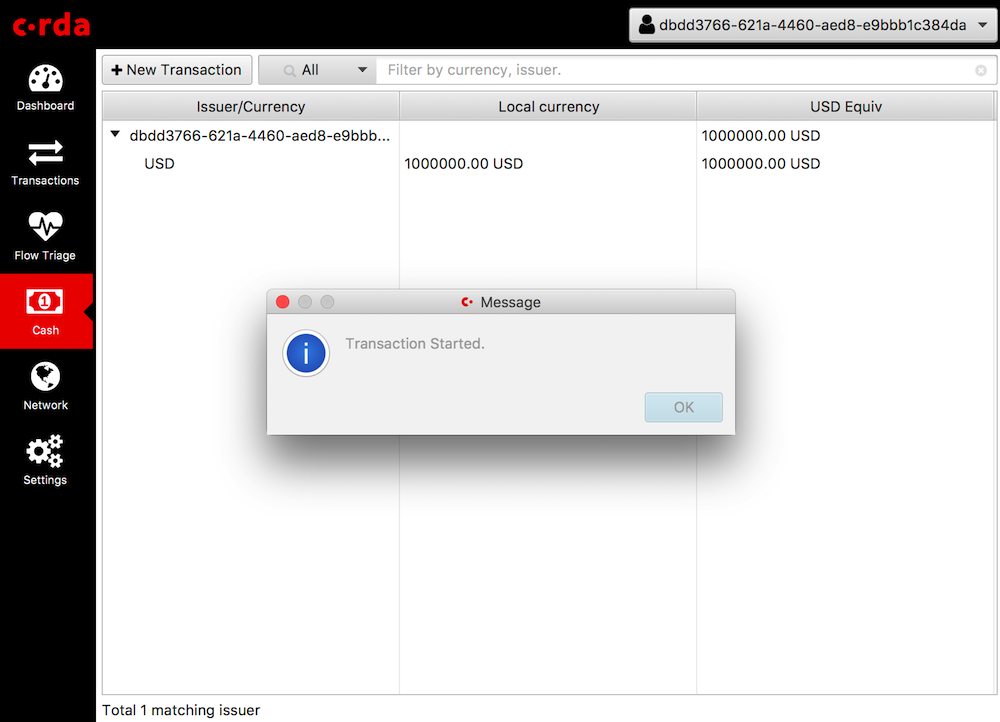
Click Execute and the transaction will start.
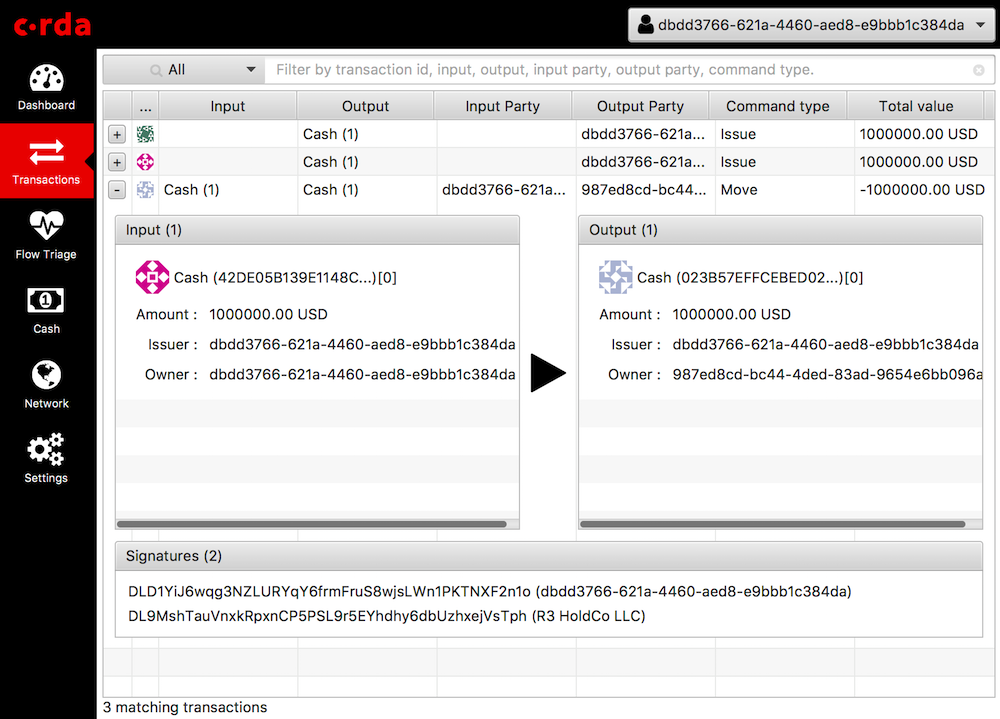
Click on the red X to close the notification window and click on Transactions tab to see the transaction in progress, or wait for a success message to be displayed:
Congratulations! You have now successfully installed a CorDapp and executed a transaction on the Corda Testnet.
