* ENT-11657: Upgraded artemis.

* ENT-11657: Reverted dependencies task leftin.

* ENT-11657: Upgraded log4j and slf4j.
DemoBench
DemoBench is a standalone desktop application that makes it easy to configure and launch local Corda nodes. Its general usage is documented here.
Running locally
MacOSX/Linux:
./gradlew tools:demobench:installDist
cd tools/demobench/build/install/demobench
bin/demobench
Windows:
gradlew tools:demobench:installDist
cd tools\demobench\build\install\demobench
and then
bin\demobench
or, if Windows complains that the command line is too long:
java -Djava.util.logging.config.class=net.corda.demobench.config.LoggingConfig -jar lib\demobench-$version.jar
Testing
The Notary Node
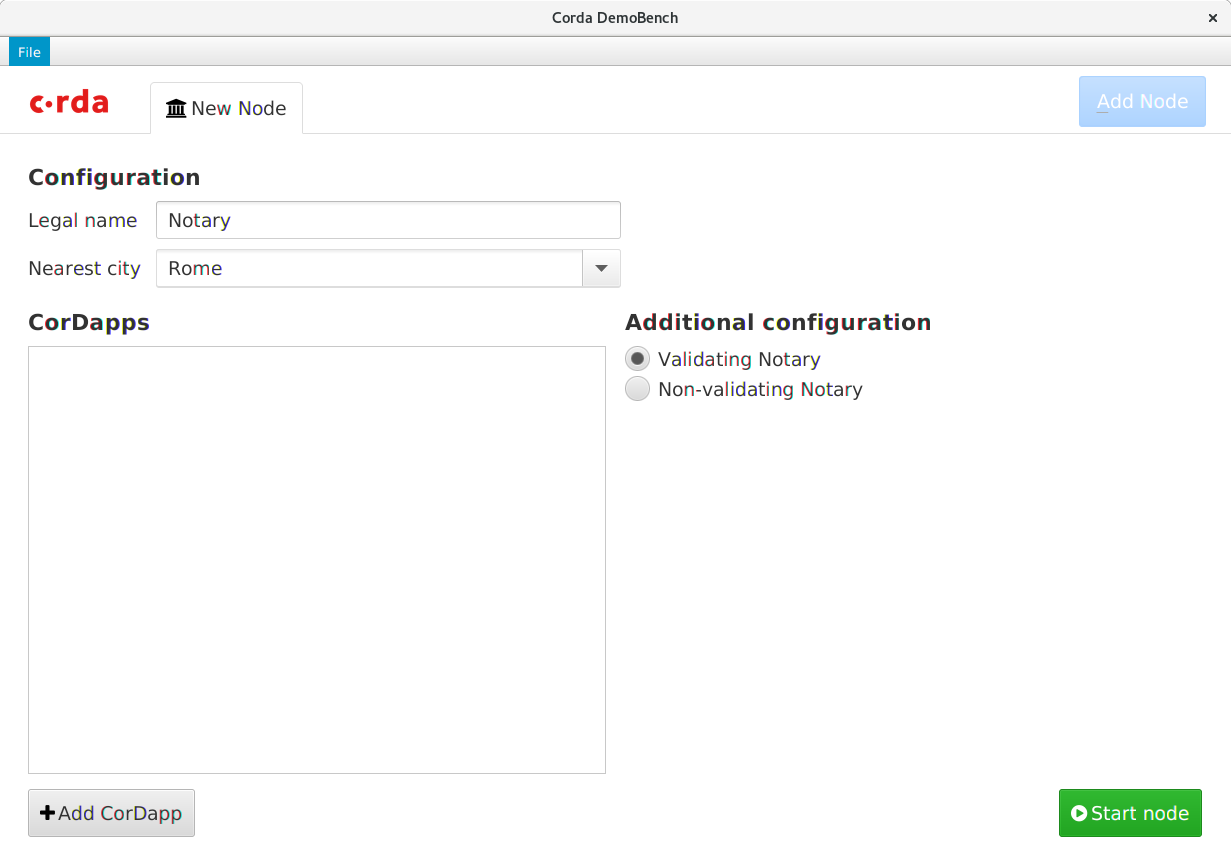
When launched, DemoBench will look something like this:
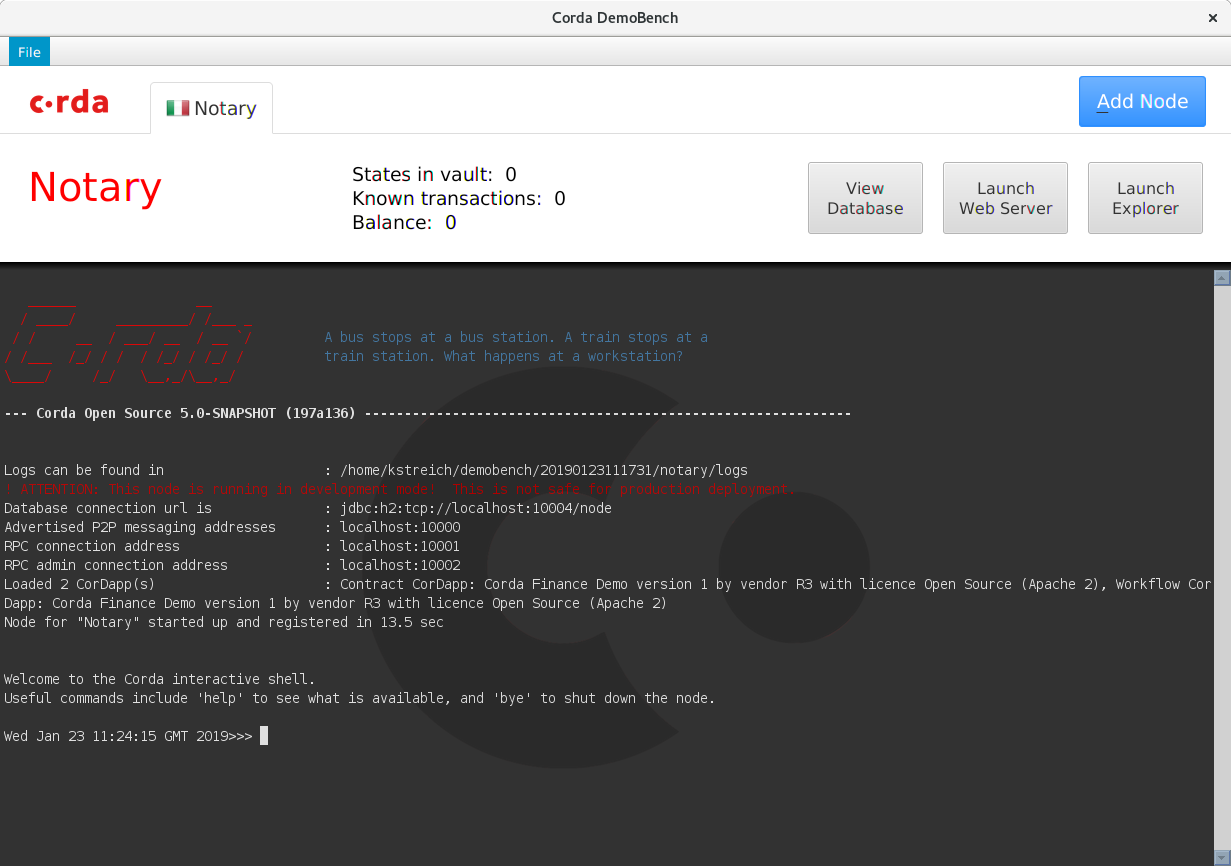
Clicking the Start node button should launch a new Notary node.
The tab should display the correct national flag for the node's geographical
location. The View Database, Launch Web Server and Launch Explorer buttons
will be disabled until the node has finished booting, at which point the node
statistics (States in vault, Known transactions and Balance) will become
populated too.
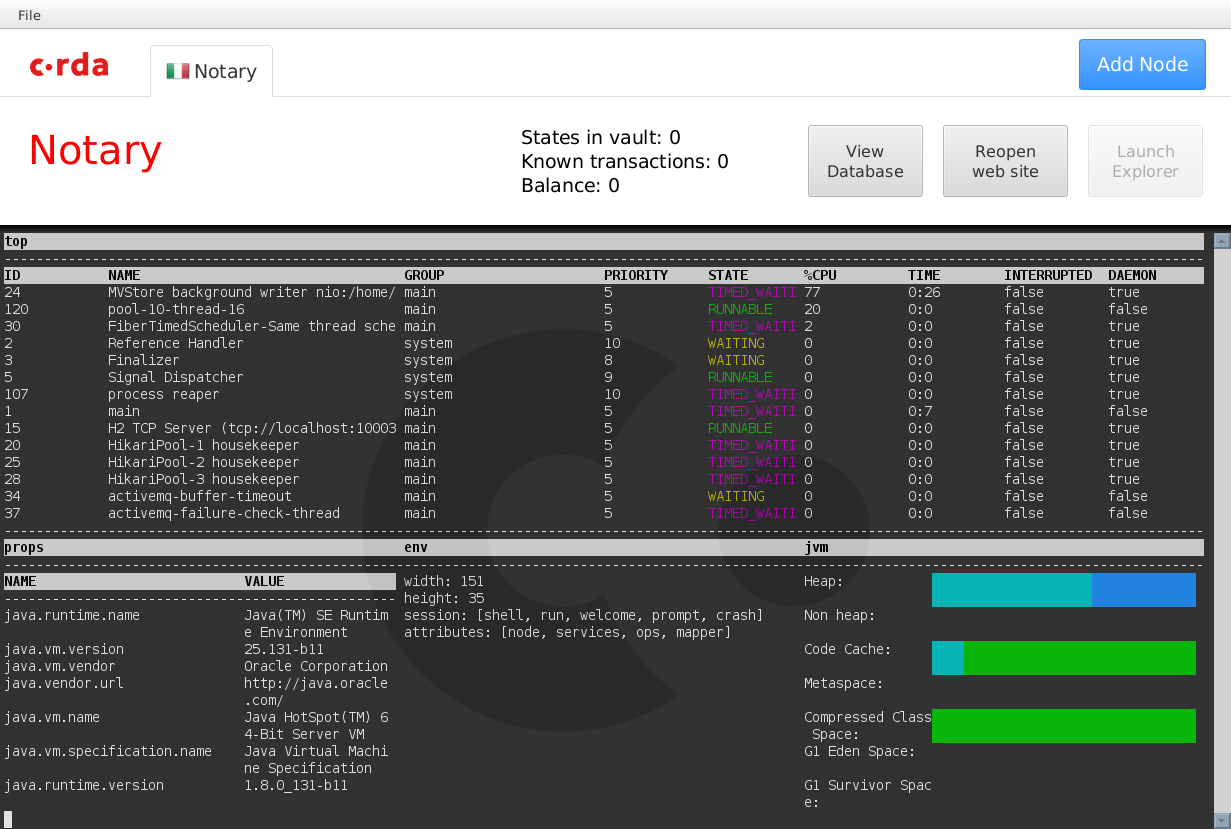
The Corda node should boot into a shell with a command prompt. Type help at
this command prompt to list the commands available, followed by dashboard.
Press q to exit the dashboard, and then check the tab's buttons:
- Press
View Databaseto launch the H2 database's Web console in your browser. Pressing this button again should launch a second console session. - Press the
Launch Web Serverbutton to launch the Corda Webserver for this node. Once booted, it should open your browser to a page saying:
Installed CorDaps
No installed custom CorDapps
-
The button's text should now have changed to
Reopen web site. Pressing the button again should open a new session in your browser. -
Press the
Launch Explorerbutton to launch the Node Explorer for this notary. You should be logged into the Explorer automatically. TheLaunch Explorerbutton should now remain disabled until you close this node's Explorer again.
The Bank Node
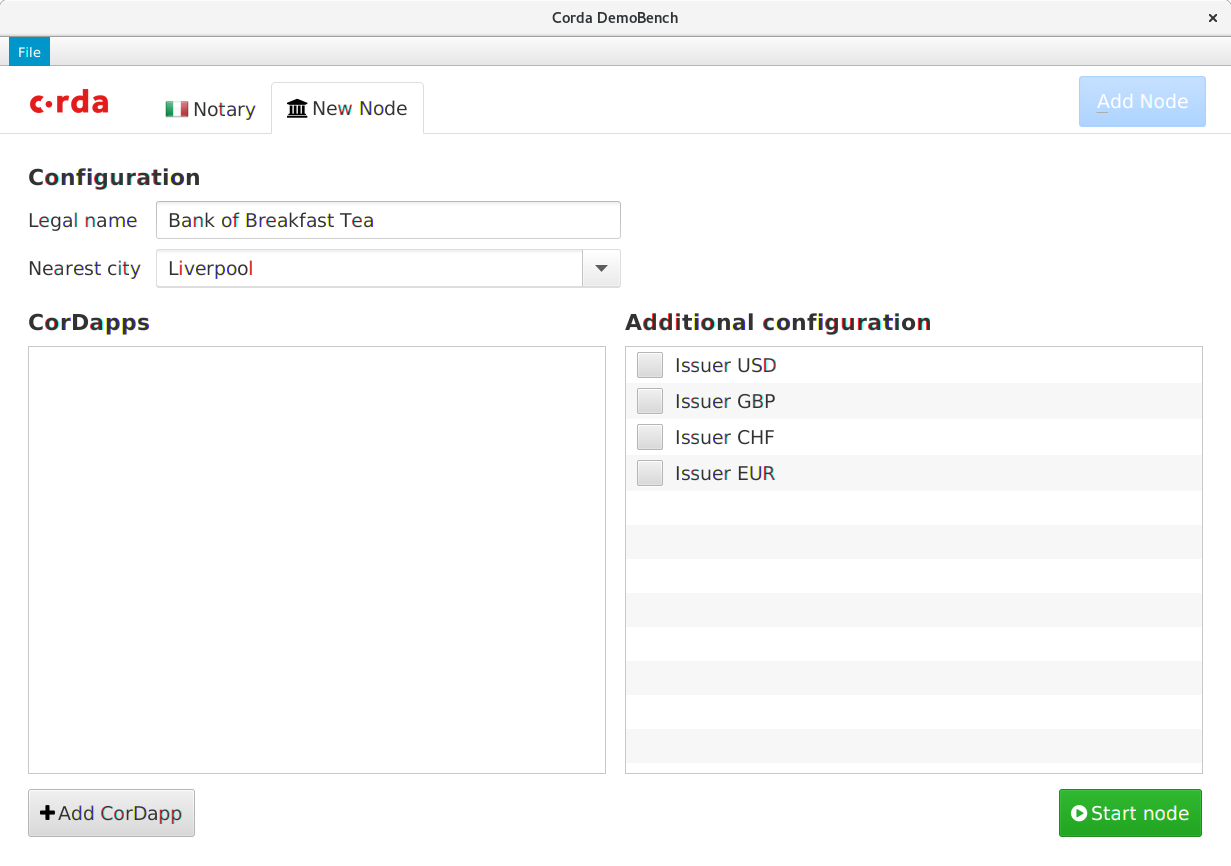
Click the Add Node button, and DemoBench will ask you to configure another
node in a new tab. Choose Issuer GBP as additional configuration.
When you type in the shell start CashConfigDataFlow you should get the following result:
Flow completed with result: CashConfiguration(issuableCurrencies=[GBP], supportedCurrencies=[USD, GBP, CHF, EUR])
The CashIssueFlow is enabled for the currencies listed in bank node's finance configuration file (corda-finance.conf), in this instance it's GBP.
Launch the bank's Node Explorer, and check the network view. The Notary node should be displayed in Rome, whereas the Bank of Breakfast Tea should be in Liverpool.
Saving / Loading profiles
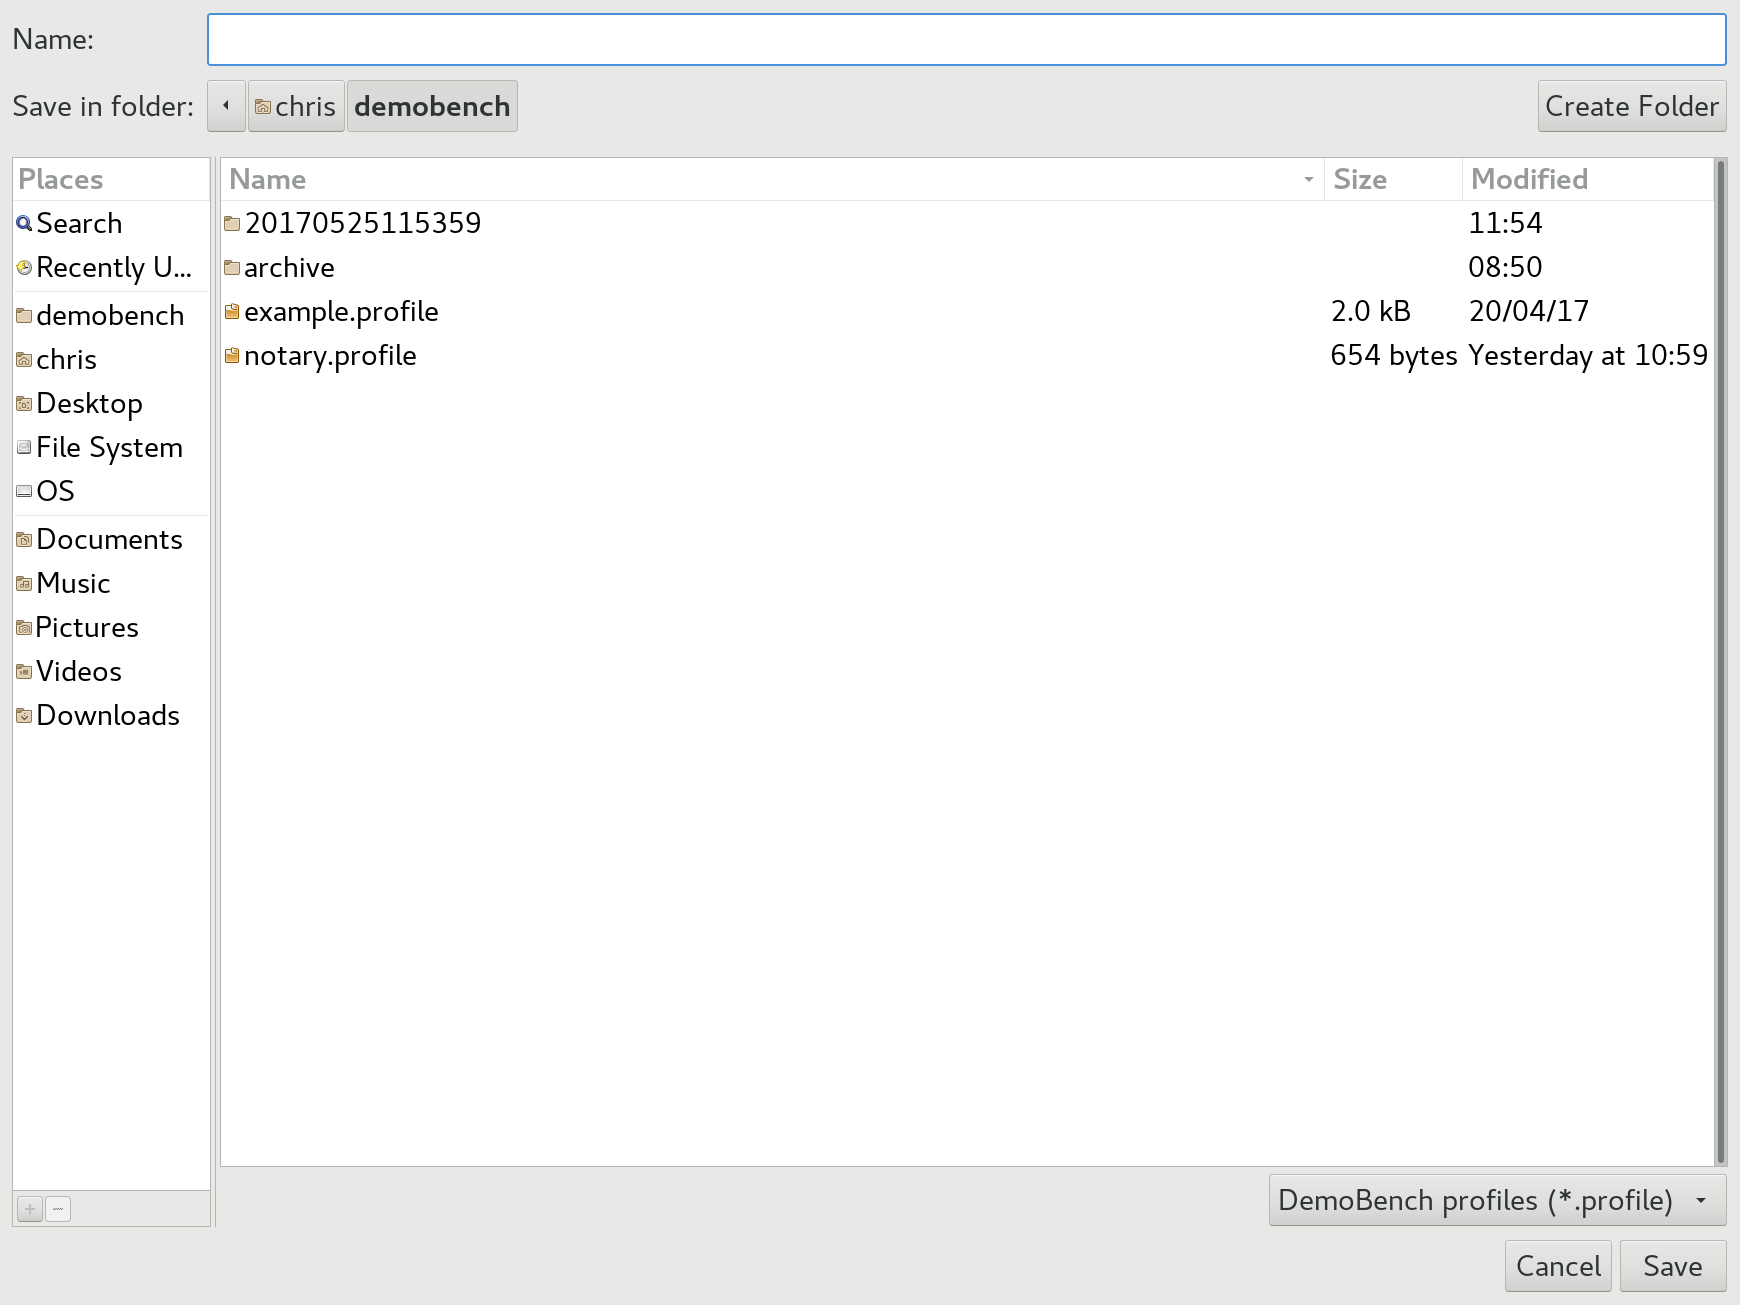
Choose File/Save As from DemoBench's main menu.
Save the profile and then examine its contents (ZIP format). It should look something like:
  Length      Date    Time    Name
---------  ---------- -----   ----
        0  05-25-2017 11:57   notary/
      490  05-25-2017 11:57   notary/node.conf
        0  05-25-2017 11:57   notary/plugins/
        0  05-25-2017 11:57   bankofbreakfasttea/
      673  05-25-2017 11:57   bankofbreakfasttea/node.conf
        0  05-25-2017 11:57   bankofbreakfasttea/plugins/
---------                     -------
     1163                     6 files
Now choose File/Open from the main menu, and select the profile that you have
just saved. DemoBench should close the two existing tabs and then relaunch the
Notary and Bank nodes.
If you want to edit the content, please make sure that when zipping content back, the notary node is the first directory (ZIP files content is ordered)
Exiting DemoBench
Close DemoBench as a normal application on your platform; it should close any open Node Explorers before exiting.
